How-To: Clean and Lubricate Rane Faders
Rane’s faders are legendary in the sense that they last…well, forever. However, things with moving parts will generally work better with proper care and maintenance! So here’s a guide on how to remove, clean, lubricate, and reinstall Rane faders:
Tools Needed For This Project:
- Phillips head screw driver
- Isopropyl Alcohol (Rubbing Alcohol)
- Lint free cloth for cleaning
- Cotton Swabs
- Compressed Air / Canned Air
- Latex Gloves
- DuPont Teflon Multi Use Lubricant
Fader Removal
First begin by unplugging the power cable from your mixer. It’s also generally a good idea to move the mixer somewhere with a flat surface, like a table to work on it. Grab yourself a small cup or container of some sort to keep removed screws in – you don’t want to lose any screws while you’re doing this!
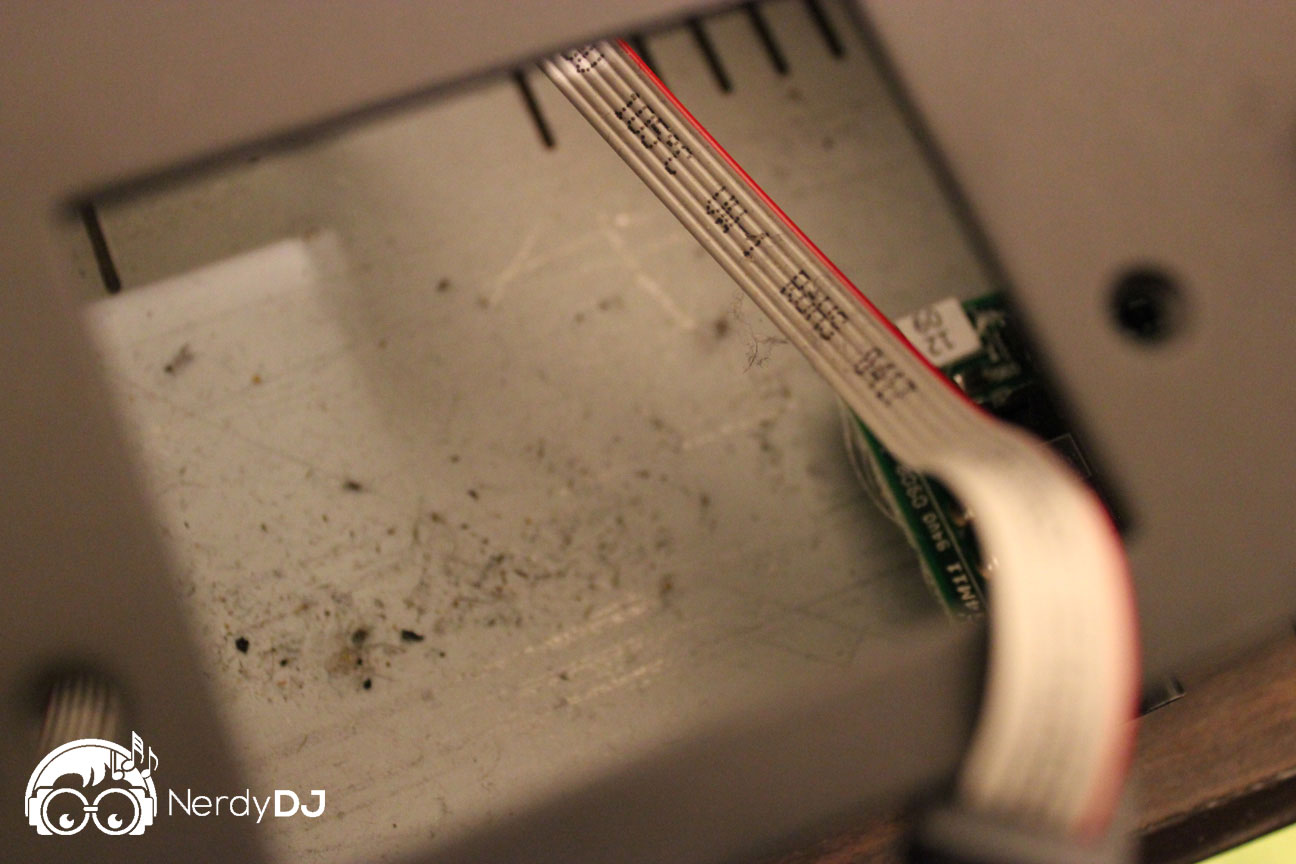
Remove all of the fader caps and put them aside (or into your aforementioned container). Next, using a phillips-head screwdriver, remove any screws that hold the fader faceplate onto the mixer. Once the faceplate is removed, follow the next steps for each fader. We recommend removing one at a time, unless you also need to clean the inside of your mixer (see our pics below)
Each fader will have two screws that hold it into the mixer. Remove both screws. Tip: while removing the screws, hold onto the fader with your other hand. Once the screws are removed the fader will fall into the mixer if you do not hold it.
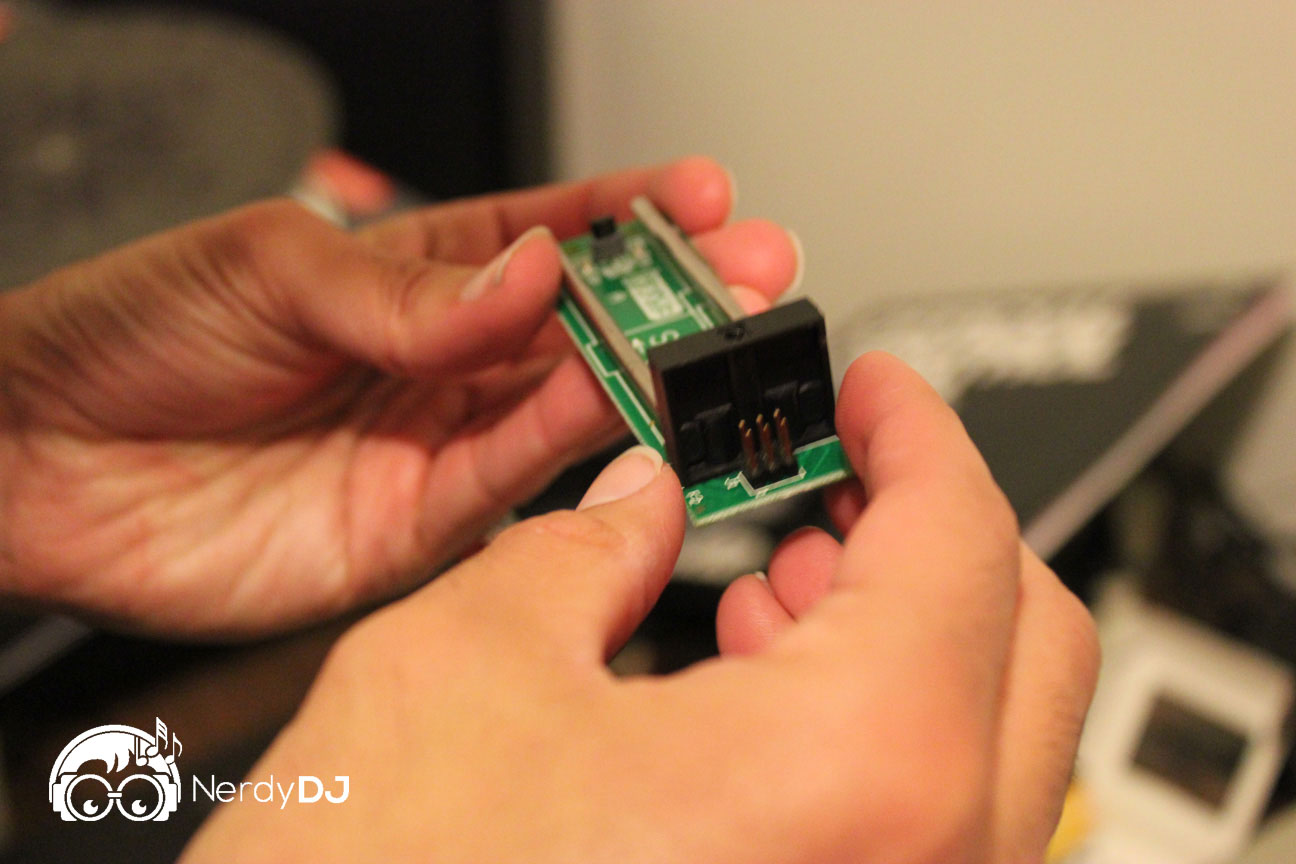
With both screws removed, you should now be able to fully remove the fader assembly from the mixer. You’ll now need to unplug the cable that runs to the fader. Unplug this cable gently, as you don’t want to damage anything. Now with both screws removed and the cable unplugged, you should be able to remove and hold the fader assembly in your hand:
Fader Cleaning
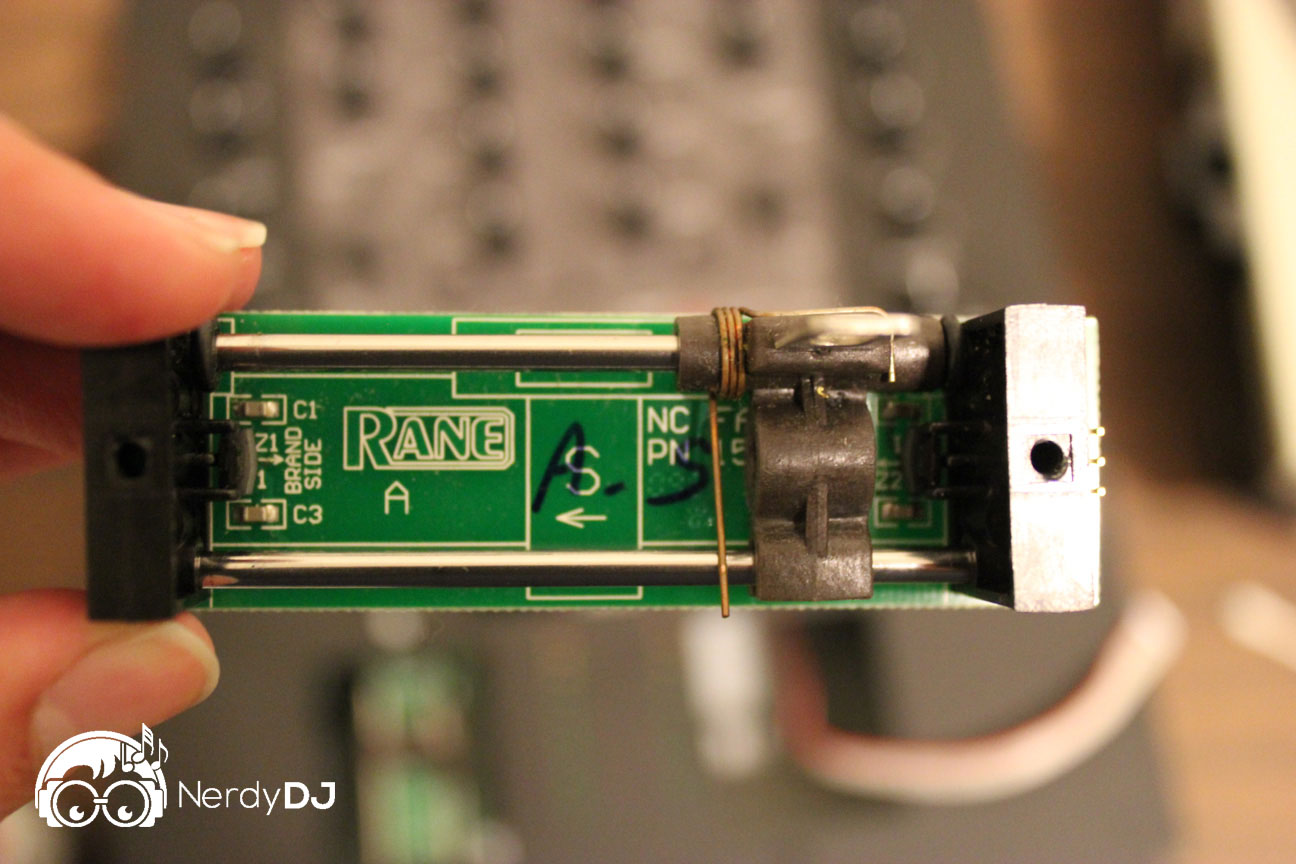
There are a few different levels of cleaning, but we’re going to explore a full cleaning. This will require disassembly of the fader. This has a few steps, but it shouldn’t be too difficult. First get a little more familiar with the various parts of the assembly:
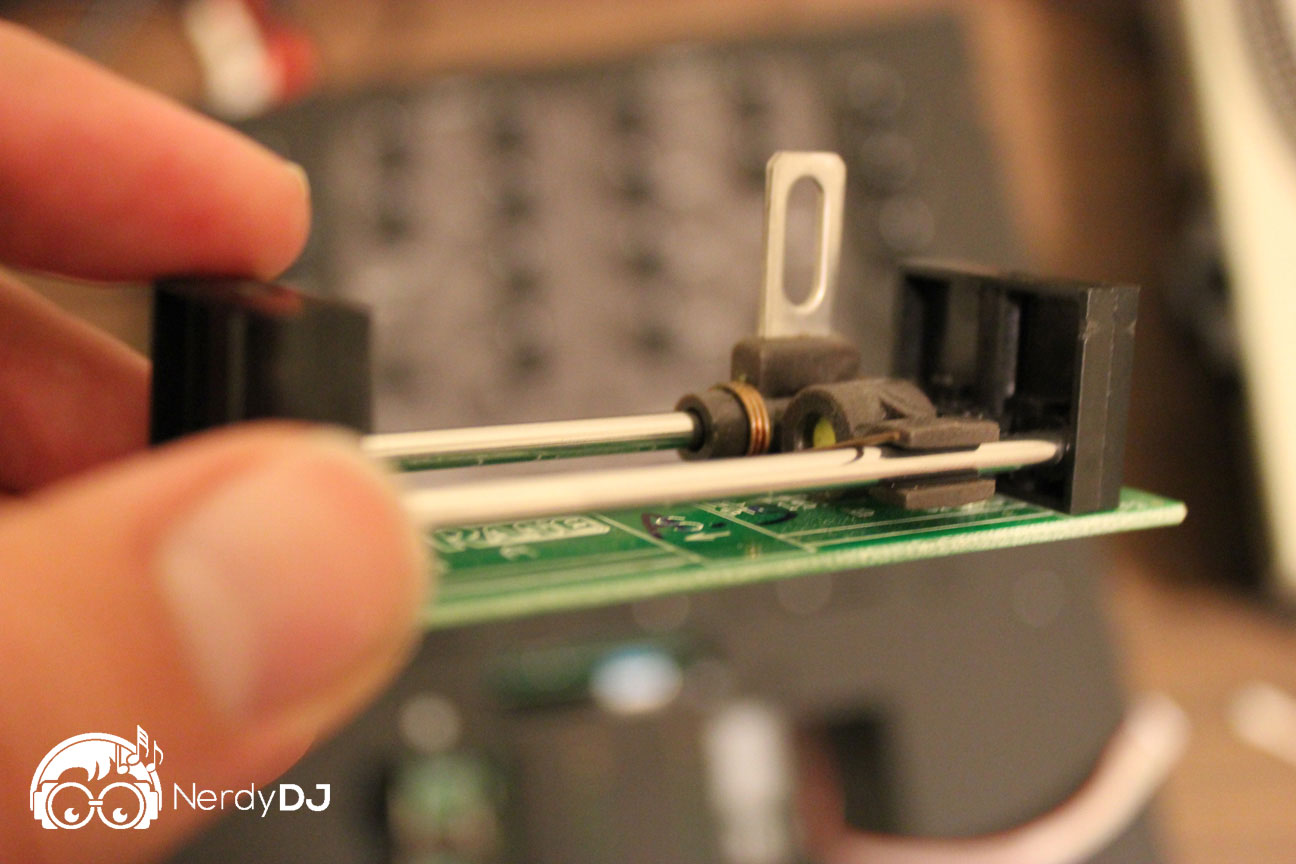
Now that you are familiar with the various parts, let’s get started disassembling everything. To do a full cleaning we will need to remove one of the end caps, guard rails, and the carrier from the board. First, remove the left end cap by removing the two screws that hold it on from the bottom. You’ll know you have the correct end cap because it won’t have the ribbon pins beside it:
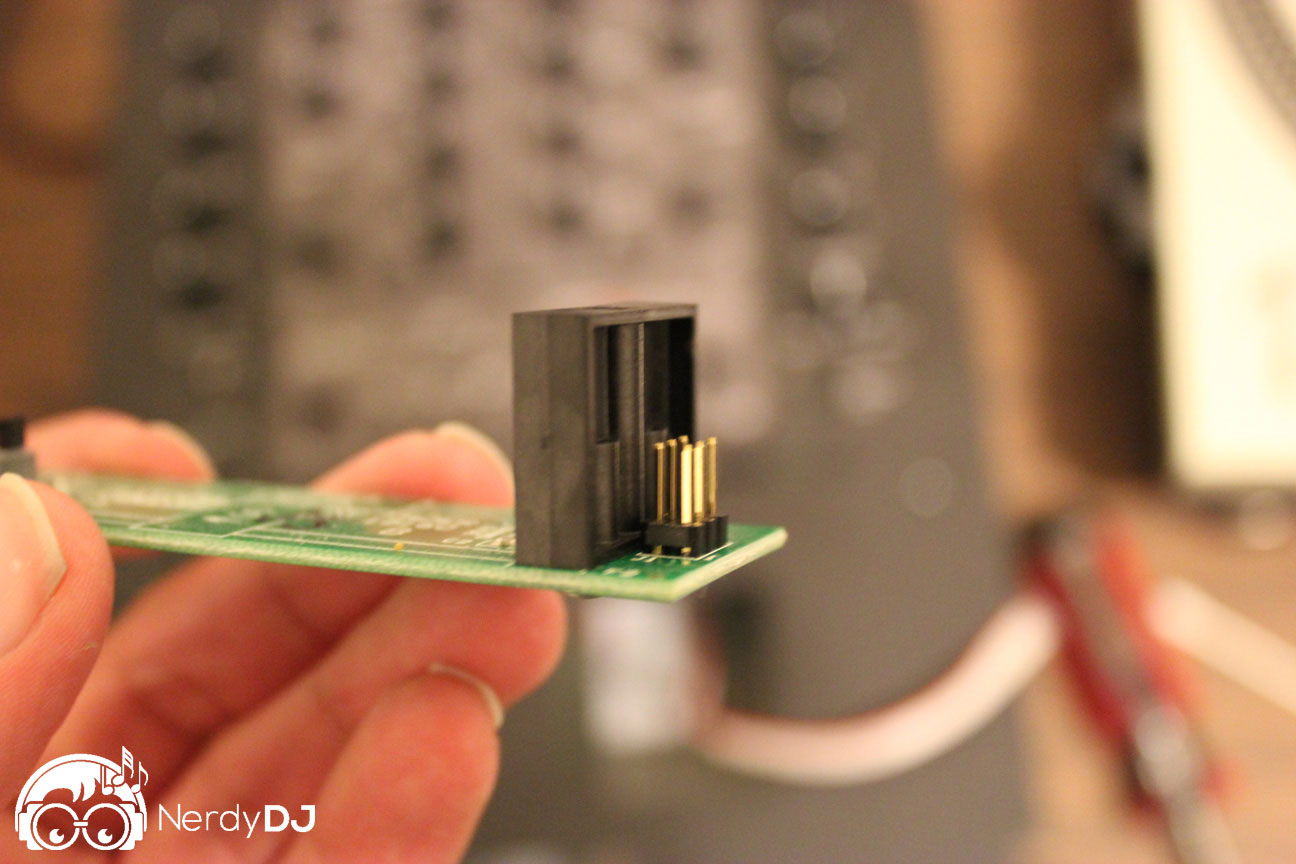
Now that the end cap is removed, you can remove the rubber washers and then slide the carrier off the rails and place it somewhere safe. With the carrier removed, you may now also remove the guide rails. This step is optional, but I found it easier to clean with the rails removed.
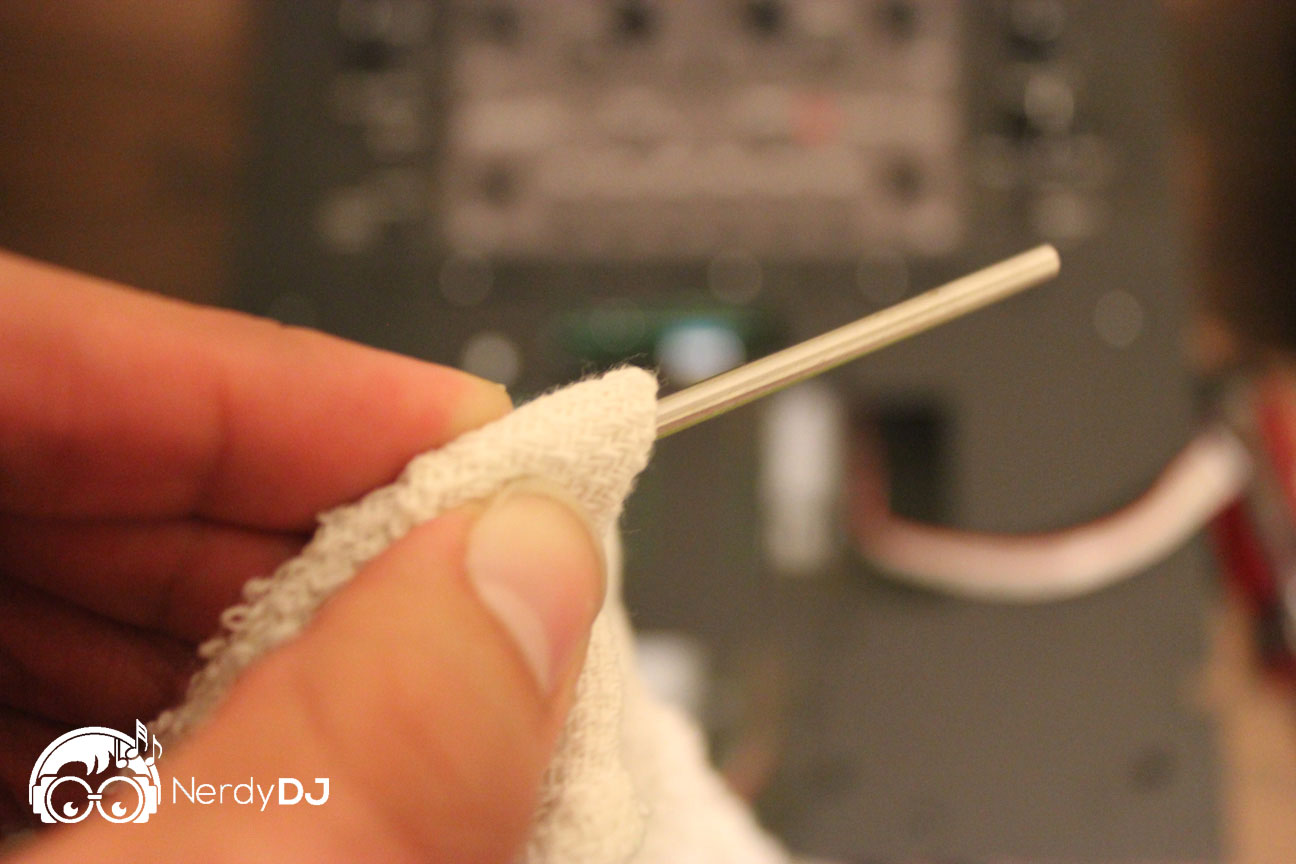
Now that everything is disassembled you can begin cleaning. It’s actually easier than you’d expect and takes only a few minutes. Using a lint free cloth, wipe each guard rail from front to back making sure not to miss any areas. For better cleaning (especially useful if you have any kind of residue on the guard rails), apply a small amount of isopropyl alcohol (rubbing alcohol) and then rub with the cloth:
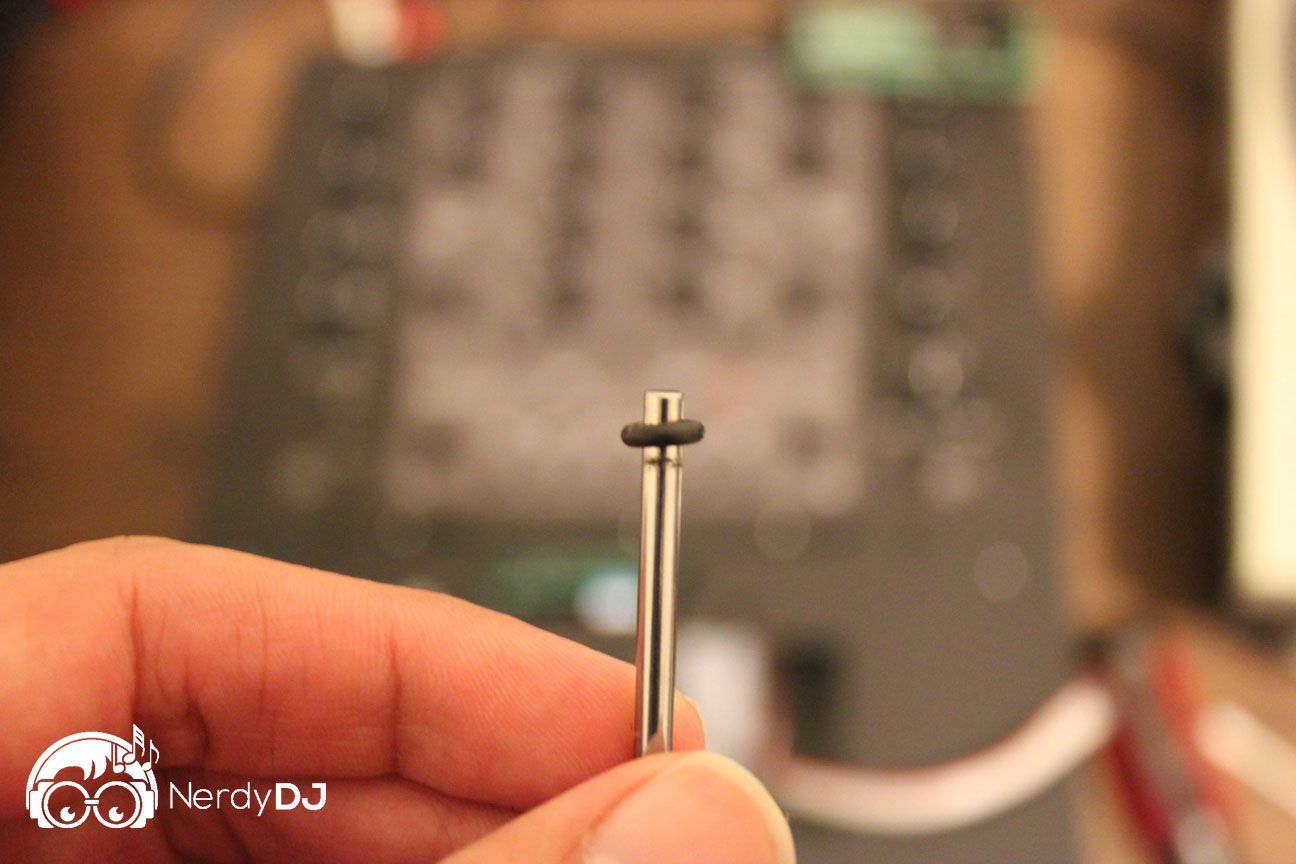
Make sure to also remove the rubber washers before cleaning, just look how much dirt they can contain/leave behind:
Now all that’s left to clean is the carrier. First used compressed air to blow any loose dirt / grime away from the carrier. As you can see, mine had some dust built up:
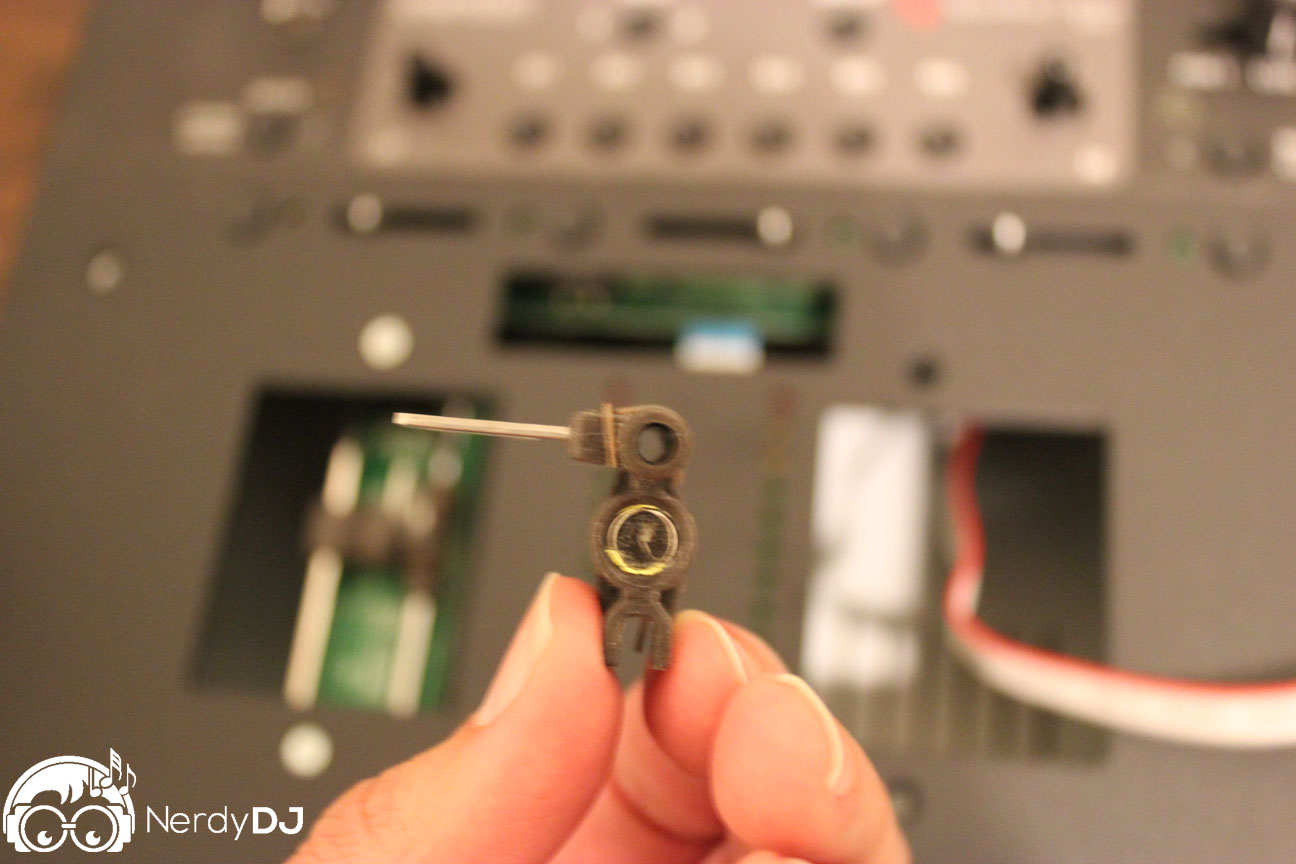
Now you’ll want to wet the end of a cotton swab with isopropyl alcohol. Use the swab to clean the areas of the carrier that move along the guard rails. As you can see, this area gets quite dirty over time:
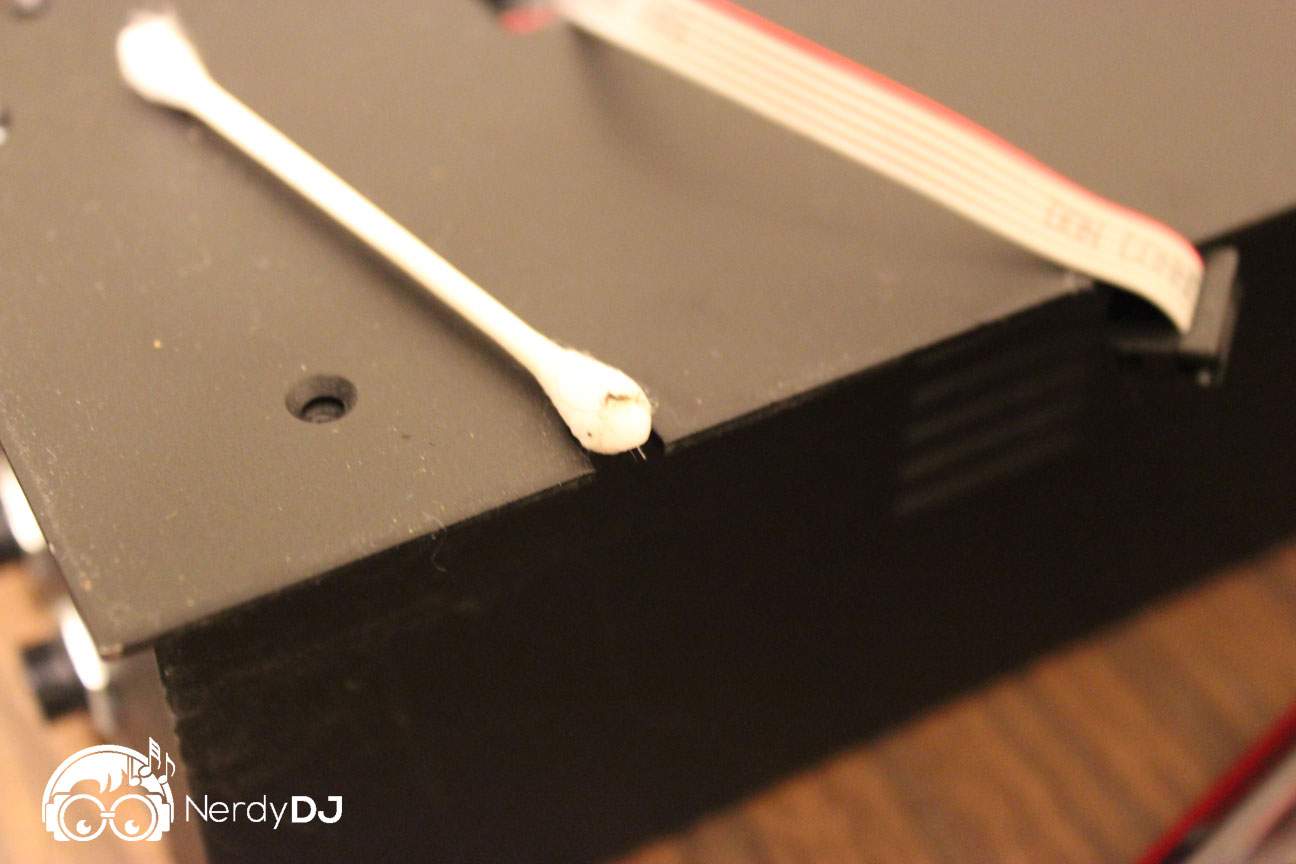
As an optional step, you can also take some time to clean the inside of the mixer with compressed air. My mixer has seen too many nightclubs with fog/haze and as of recently, a few outdoor gigs, so it was due for cleaning:
Once you’ve cleaned the carrier, reverse the disassembly process and put everything back together. First put one end of each guard rail (don’t forget to add the washer) back into the end cap that’s still attached to the board. Then, slide the carrier back onto the guard rails. Next, replace the other end cap (again, don’t forget to replace the washer). You may have to play around with it for a minute to get the end cap back on. Now, replace the screws. With everything fully reassembled, it’s time to move on to lubricating the fader.
Lubricating Rane Faders
Lubricating your faders will make the carrier travel across the guard rails much more smoothly, and will make sure the fader operates the way it was intended. There are many varieties of lubricant, and if you’ve been DJing for a while, chances are you’ve already got a favorite. I used Dupont Teflon Multipurpose Lubricant since that’s what Rane currently recommends. You can find this in many hardware stores, or online as well. There is more than one variety of this product. One is an aerosol and one is a dropper bottle like the one pictured below. This is the one you want:
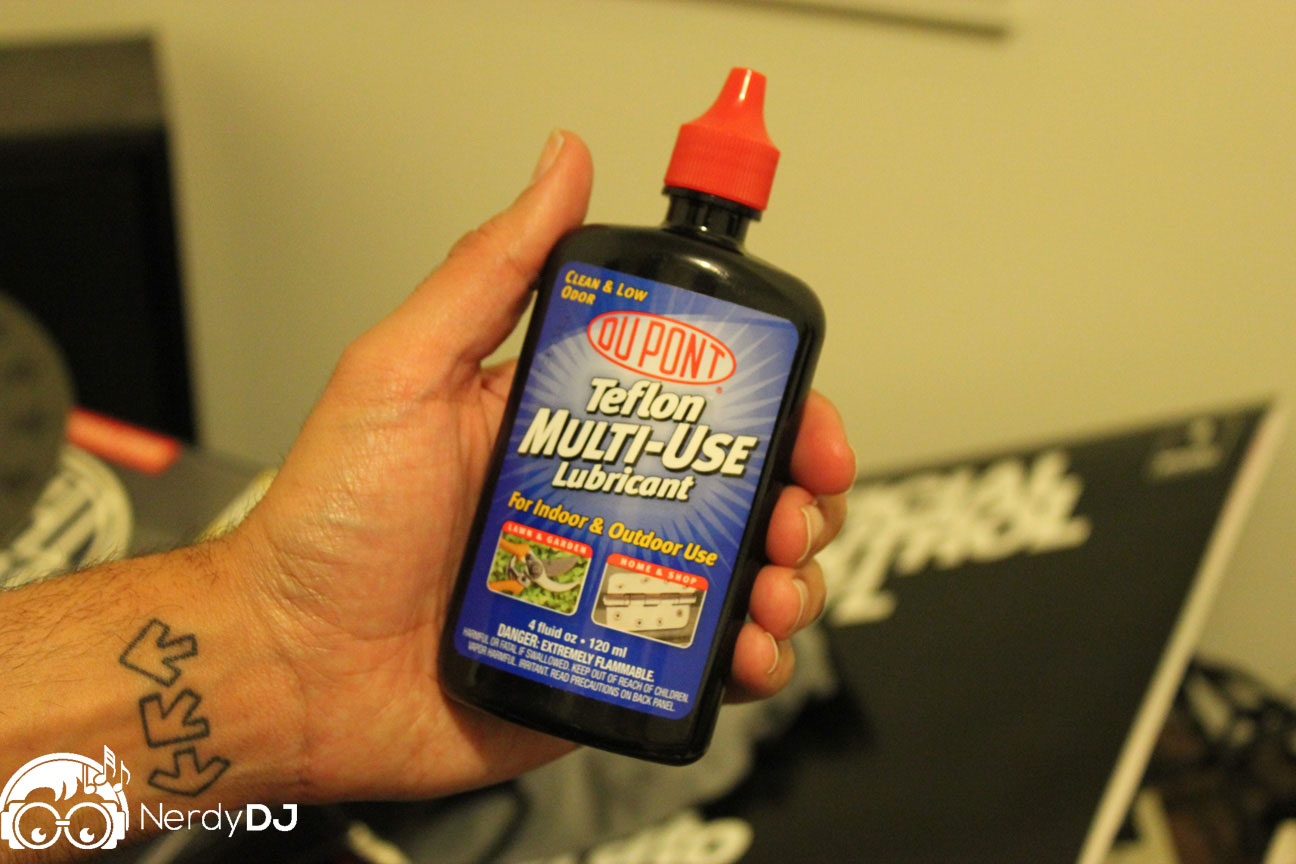
The very first thing I will tell you about this stuff is that a little goes a long way. You’ll only need a couple of drops for each rail. I found the easiest way to apply this was to put a couple of drops on my fingers (put on a latex glove first because you don’t want this on your skin), then rub the liquid onto the guard rails. Rub it onto both rails, then move the carrier repeatedly left and right a few times so that it spreads the lubricant. Everything should be moving noticeably smoother than before. Mine moved along the rails with only gravity helping out:
Mixer Re-assembly
With everything cleaned and lubricated, the only thing left to do is to put the faders back into the mixer. First you’ll need to attach the ribbon cable. Important if using a Rane TTM-57SL: attach the cable as pictured, so that the end of the cable with the red line matches up with the number 1 on the board:
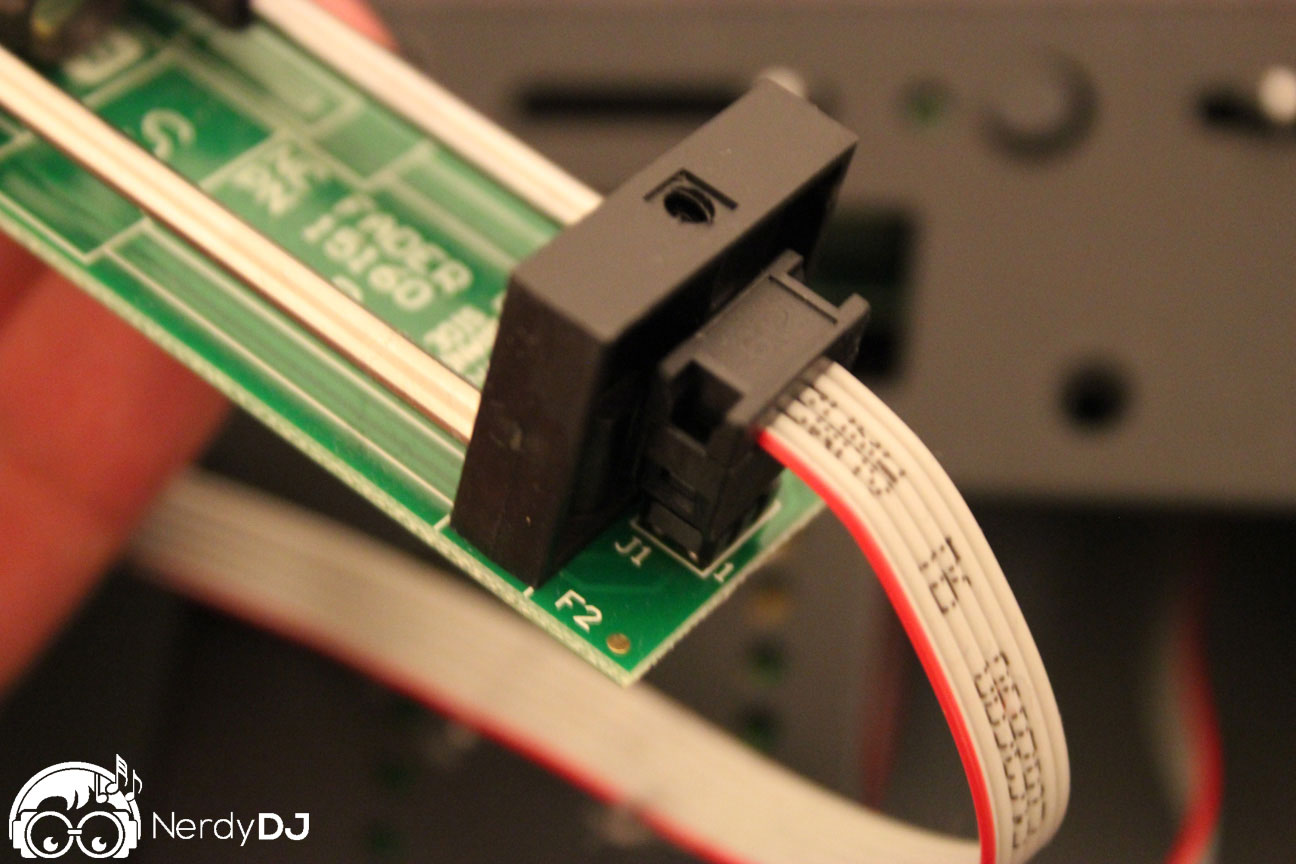
Once the cable is attached, place the fader back into the mixer and replace the two screws to hold it in place. Repeat the above processes for each fader that you want to clean and lubricate. Once you’re all done, attach the faceplate to the mixer and then replace the fader caps.
Regular Maintenance
Hopefully after completing this process you’ll be a little more familiar with taking your rane faders apart and cleaning / lubricating them. If you keep everything maintained these faders will last a really long time.
As always, sign up for the newsletter for more great tips + share with anyone that might make use of this!